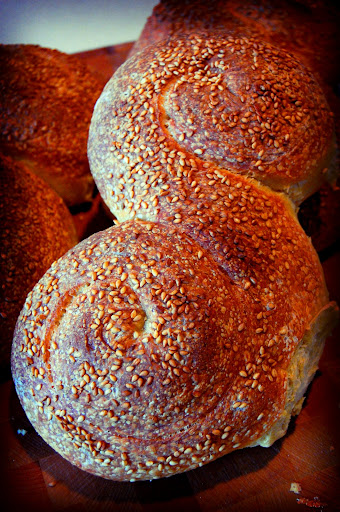
Pane Siciliano. Another two-day bread. But oh so worth it. This is very likely one of the most visually appealing breads I've ever made. Between the "S" shape and the deep color of the crust, it has taken A LOT of willpower to wait to eat it. But I must because I've already got a loaf of ciabatta going and I don't need bread going stale left and right, it'd be madness. (It should be noted that I freeze a lot of bread when I make it. If you wrap it in foil and then stuff it into a freezer bag, it holds up pretty well. I just can't eat it all quickly enough!)
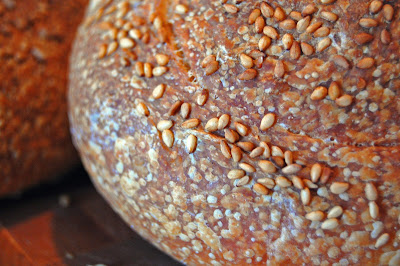
So anyways.. this is another Reinhart bread, which means that it was complicated and I don't feel like typing up the whole recipe. But I will share a few things. First, this is a bread made partly with semolina flour. Semolina flour is the same stuff dried pasta is made from and when you bake with it, it imparts a wonderful flavor and aroma to the bread and it helps to makae the crust the deep color it is. The other things that help with that color are olive oil and honey. Other than those items, it's a standard bread. Sort of.
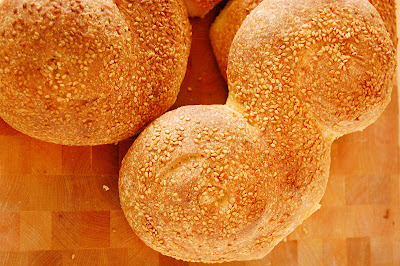
Making this was easier than the ciabatta, though there was a lot more kneading involved. But that's kind of fun and it's a nice workout. And as if it were possible, baking these loaves smelled even better than the ciabatta loaves. I'll post an update after I've tried a slice, but I am very excited.


